Testing and Inspection Services
Radiographic Testing
Using Imaging Equipment To Inspect Your Product’s Components
Preferred method of inspection for finding the integrity of the internal structure of a part.
Primarily done with the use of X-Ray and Gamma-Ray Sources.
Services are done in both the field and laboratory.
CTC provides high-energy X-ray services from 0KV to 4MEV and Gamma Services with Iridium 192.
Radiographic images can be produced digitally or on film.
RT is a fast and effective way of inspecting castings, welds, and components where the internal structure of the component can be inspected for defects during the process.
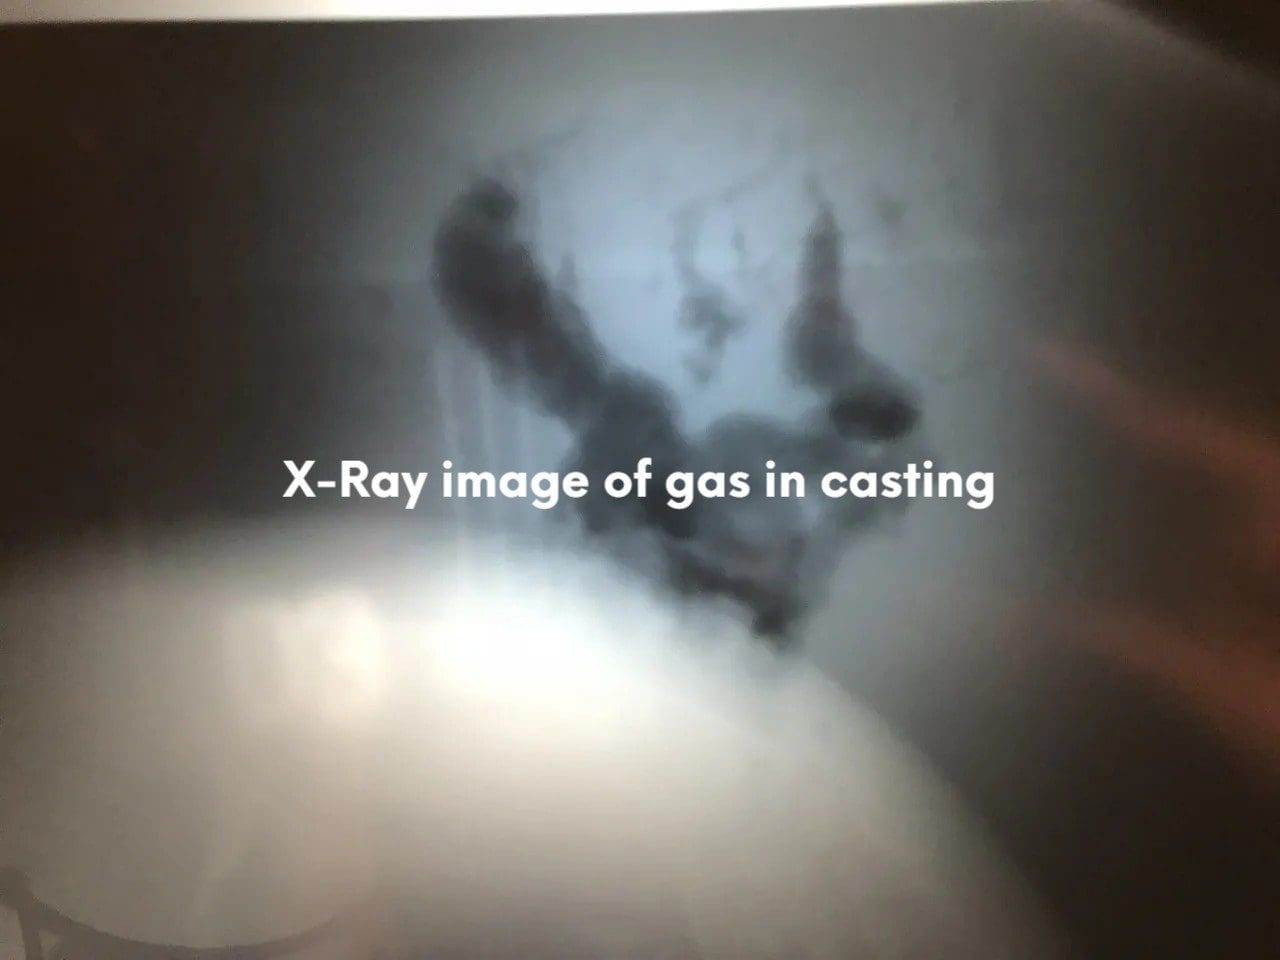
Many internal issues can occur in castings, and indications can form during pouring and solidification processes, including cold shuts, gas, sand, shrinks, and other casting issues.
In welding, process indications and defects occur during the welding process, such as inclusions, lack of fusion, lack of penetration, porosity, slag, and other weld defects.
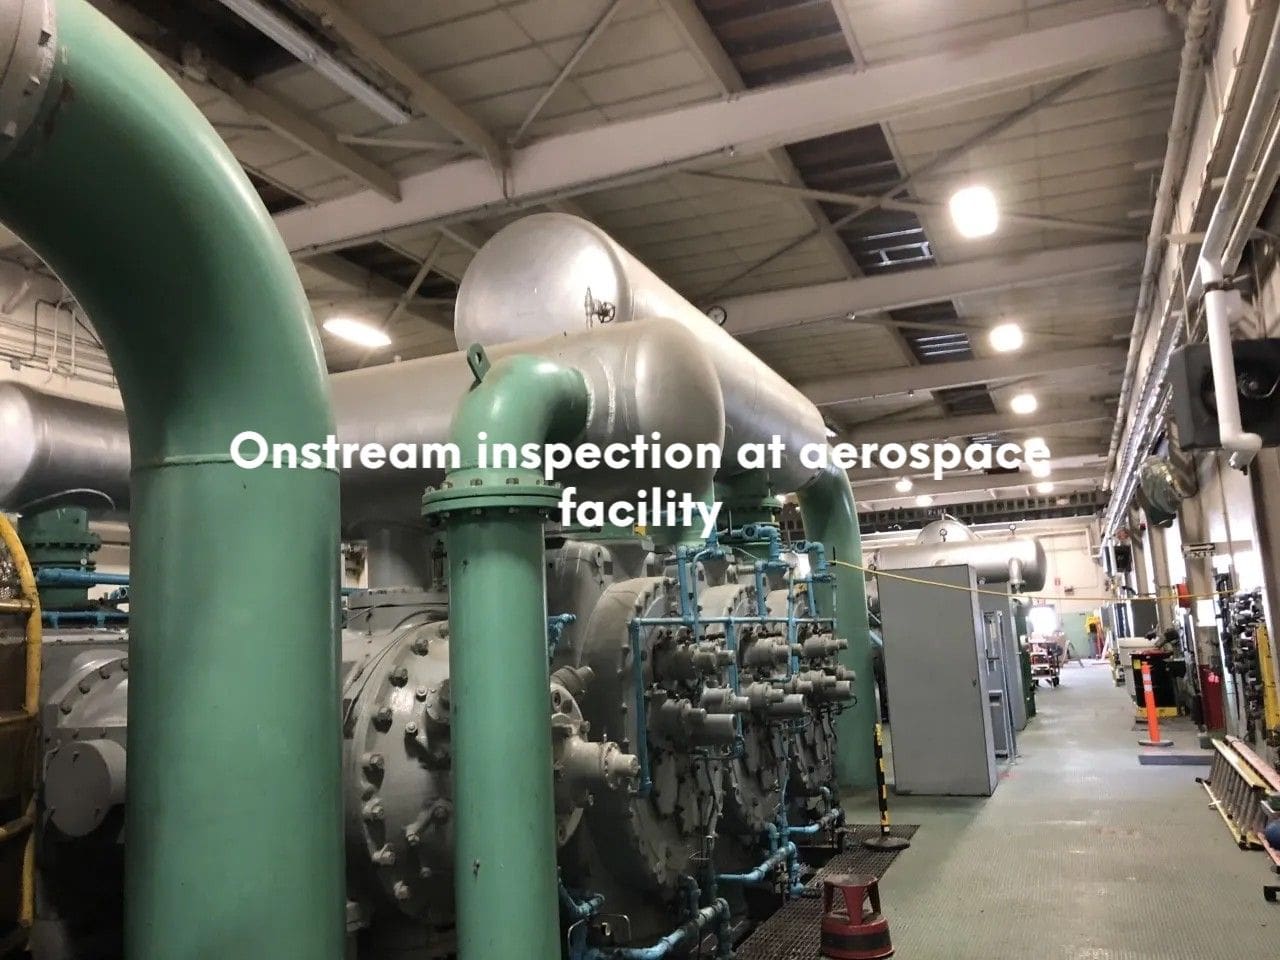
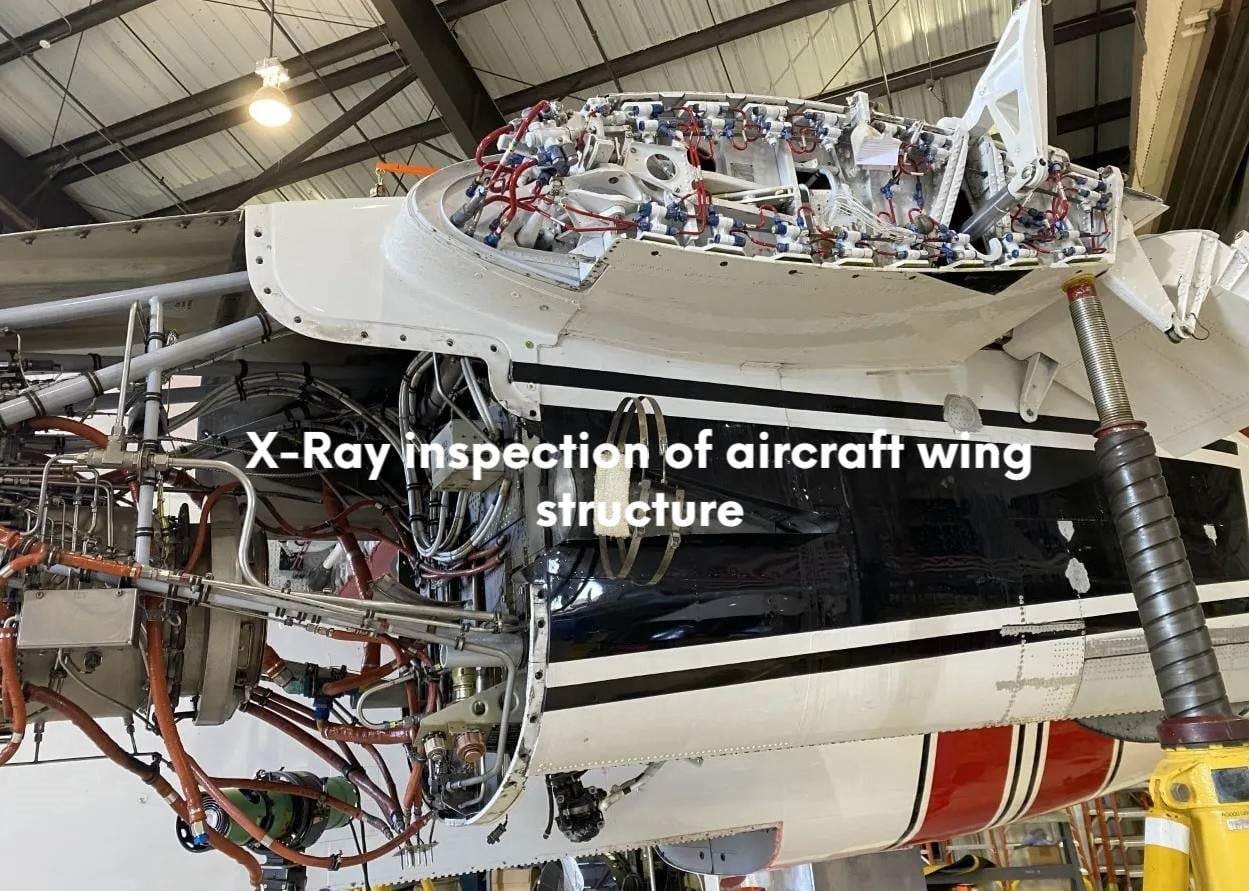
Useful for inspection of in-service applications such as aircraft inspection.
CTC inspects many aircraft applications for in-service inspection for structural integrity.
Many Applications Include Inspection For:
Surface Inspection Solutions for Different Materials
Magnetic Particle Testing (MT)
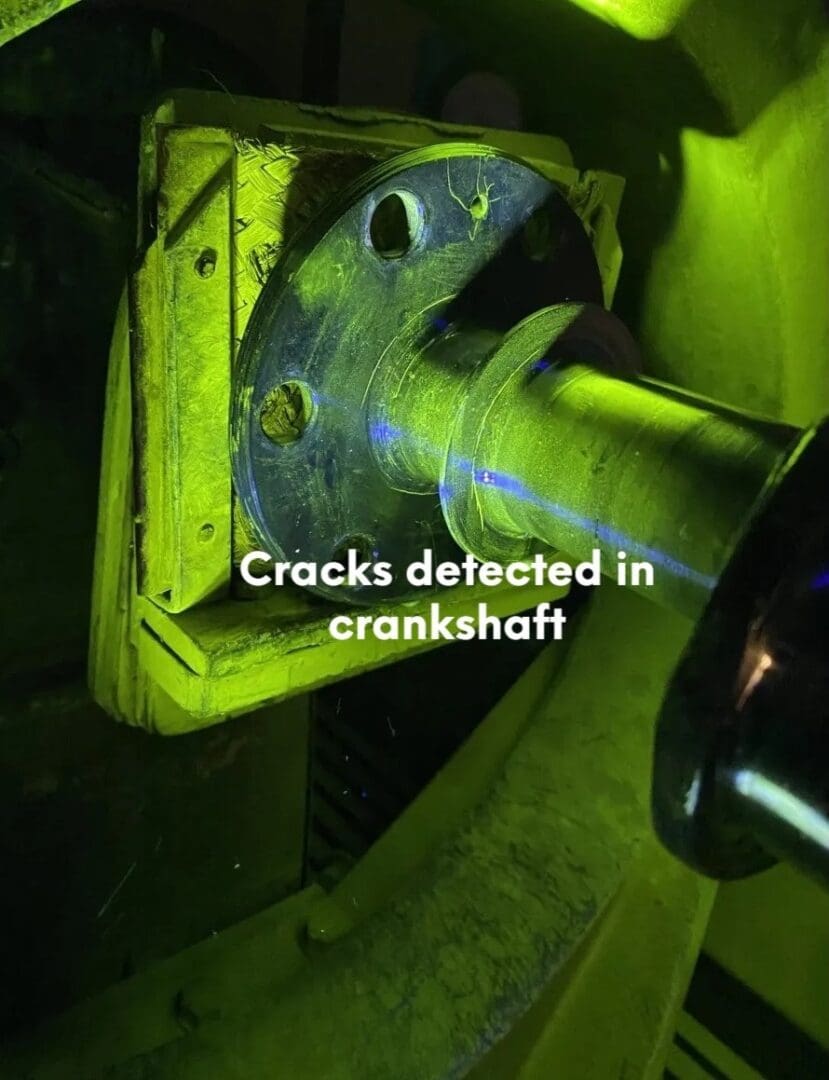
Magnetic Particle Testing (MT), also known as Magnetic Particle Inspection (MPI), is a very fast and reliable method of inspecting ferrous (magnetic) materials used in casting, fabrication, machining, and welding. MT can detect indications on the surface and near the surface. A certified technician can easily detect and interpret indications such as cracks, hot tears in castings, and other discontinuities.
There are two primary types of Magnetic Particle Testing (MT):
CTC provides both types of methods in the field and in the laboratory. For the field, Magnetic Particle Testing (MT) is primarily performed using MT Yokes with AC/DC Current Capabilities, and both Dry Visible Powder and Wet Fluorescent Methods are available. In the laboratory, we provide wet stationary Three-Phase Full-Wave Rectified Magnetic Particle Testing as well as yokes, cable wrap, and mobile units.
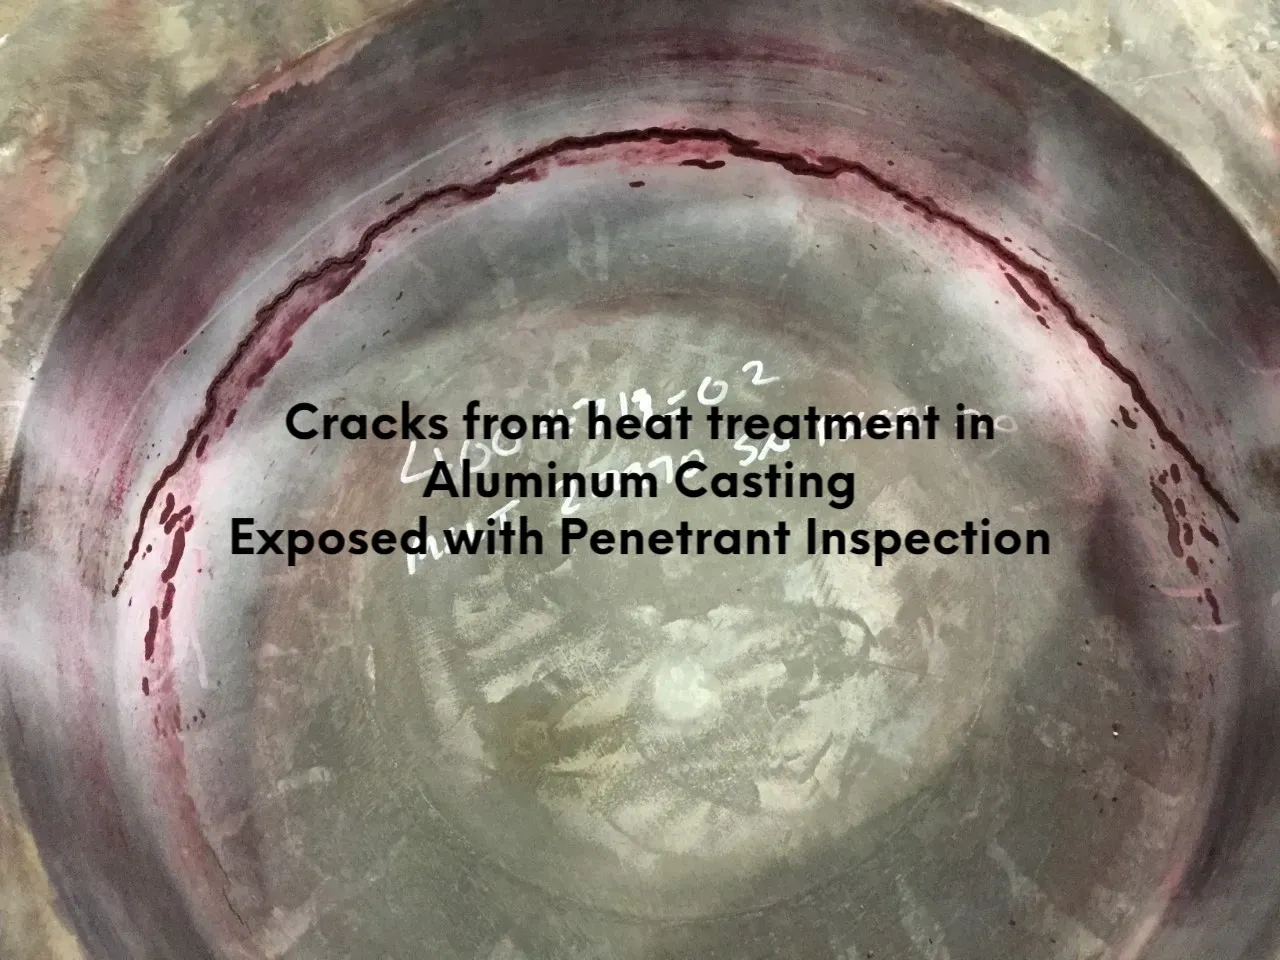
Penetrant Testing (PT)
Penetrant Testing (PT), also known as Liquid Penetrant Inspection (LPI) is a fast and reliable surface inspection method. The penetrant can be used on most nonporous surfaces with certain conditional restrictions, such as temperature and contamination.
There are two primary types, as in MT, they are Visible and Fluorescent Methods. In addition to the type, there are methods within the specification:
1 Type 1: Methods, A, B, and C
Depending on the material, service, condition of the parts, type of application, and the specifications for the inspection, these will determine the type and method of the penetrant inspection. PT will detect most indications, such as cracks, seams, surface porosity, and other surface abnormalities. It takes a certified technician to determine the disposition of the inspection.
Eddy Current Testing (ET) Service
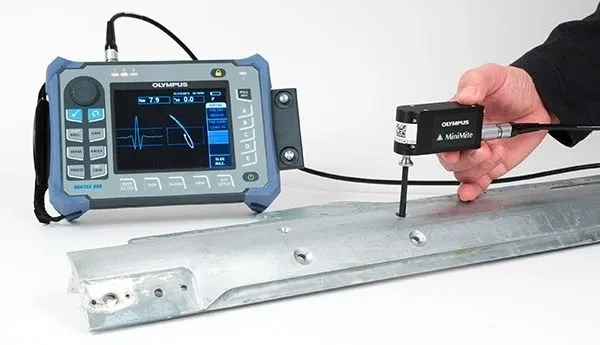
Eddy Current (ET) produces an induced magnetic field, where the field produces an Eddy Current Field around the coil into the conductive material. Any changes in the flow path of the Eddy Current Field due to material changes, geometry changes, or discontinuities send signals to the Eddy Current Scope. The disruption in the Eddy Current Field flow is then analyzed to determine the type of indication. Eddy Current is extremely sensitive to surface discontinuities but can also detect subsurface indications in multilayer structures such as aircraft skin joints, frames, and other structures.
Eddy Current (ET) is used to inspect nonferrous (nonmagnetic) materials that are conductive in nature. Eddy Current (ET) is a very sensitive inspection method and is commonly used for the detection of cracks, corrosion, and other very small changes in structure. CTC’s certified technicians can evaluate these indications.
Visual Testing
Assessing Quality Through Visual Inspection
Visual Testing is the first and most widely used of the Nondestructive Testing (NDT) methods.
VT is utilized in conjunction with all NDT methods used. No matter what NDT method we use, we have to do a visual inspection of the part or material being inspected for surface or material configurations that may either interfere with or produce an indication or image in the NDT method being implemented for inspection.
Visual inspection is commonly used in the welding industry for the fit-up inspection of welded joints prior to welding and, in many cases, the final inspection after welding.
Visual inspection of manufacturing processes, welding processes, pre-pouring, and pre-everything inspection for the quality control sector.
CTC performs visual inspection at many fabrication, welding, and construction projects throughout northern California and Nevada.
CTC performs a visual inspection of many amusement parks on their rides, tracks, structures, coaches, and trains throughout Northern California.
Welding Certification & Inspection
Assessing Quality Through Inspection
CTC performs welding certification and inspection services, including Procedure
Qualification Record (PQR), Welding Procedure Specification and Welder Qualification (WQ)
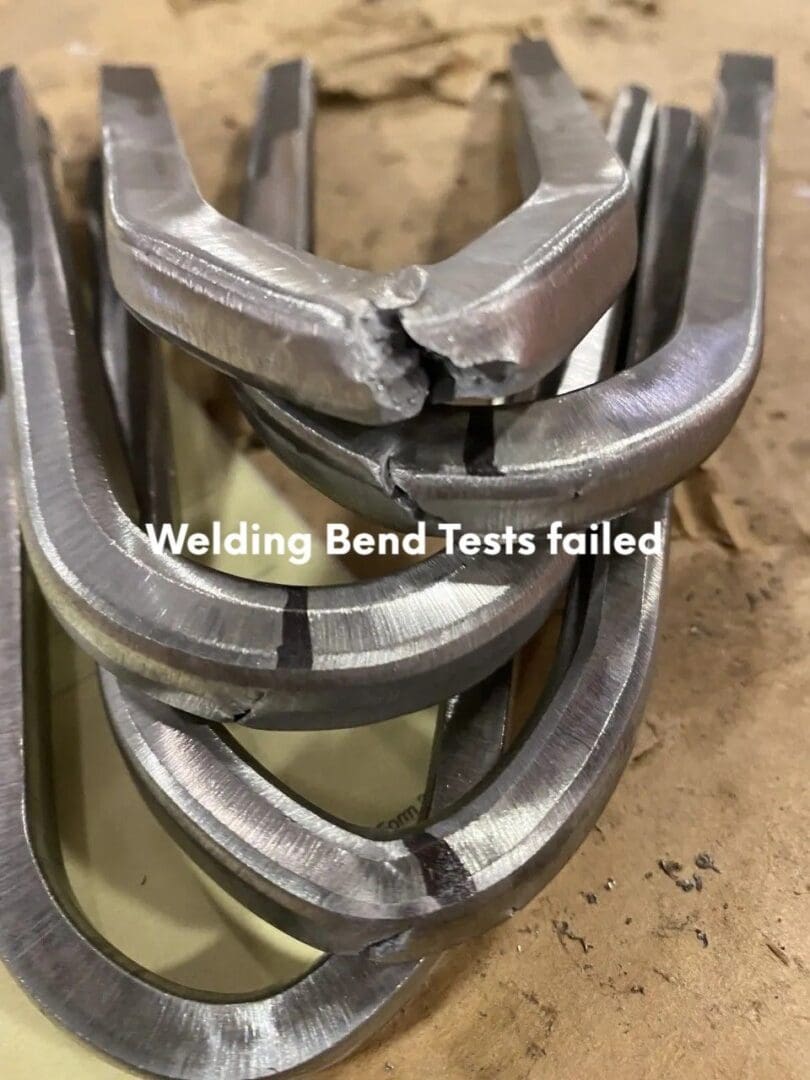
CTC also performs full machining and mechanical testing services, including Bend Testing, Charpy Impact Testing, Hardness Testing and Tensile Testing.
CTC is staffed with American Welding Society (AWS)-certified welding inspectors.
In addition to welding certification, CTC offers complete certified welding inspection services.
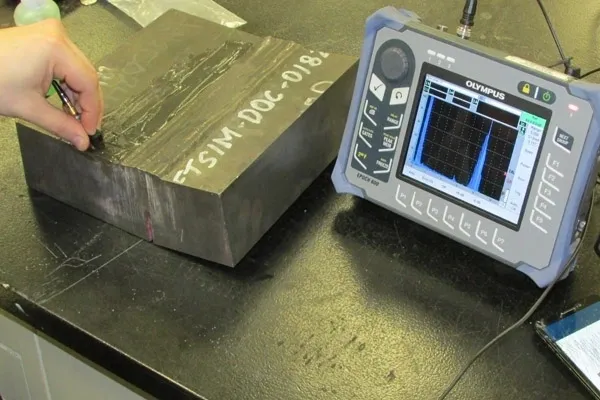
Conventional Ultrasonic Testing (UT)
Ultrasonic Testing (UT) is another example of an inspection technique for determining the internal integrity of a part or component by looking for indications from a process or service. Indications are based on a time-distance relationship and delineated on the scope for interpretation by a Certified Technician. UT is a great inspection method for determining weld quality. Discontinuities such as Incomplete Fusion (IF), Incomplete Penetration (IP), slag, and other welding indications may be detected.
In many applications where the part or component is only accessible from one side or does not lend itself to Radiographic Testing (RT), Ultrasonic Testing (UT) is the best alternative.
Ultrasonic has many other capabilities that RT does not possess. Ultrasonic Testing not only detects indications based on changes in material but can also measure depth. Ultrasonic Thickness is another use of UT.
Aircraft Inspections
The Trusted Aviation Equipment Testing Service
CTC Services Inc. is a Certified Federal Aviation Administration (FAA) Repair Station specializing in Nondestructive Testing (NDT). CTC provides inspections for most aircraft manufacturers. CTC is an approved Textron-Cessna Citation Nondestructive Testing Service provider for their aircraft.
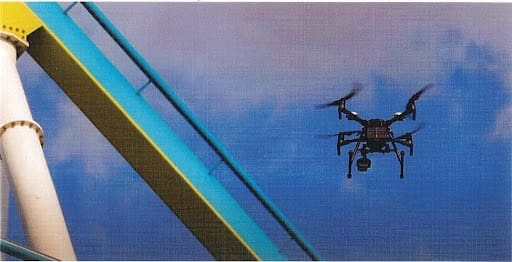
Revolutionizing Roller Coaster Inspections with Drone Technology Experience Safety and Precision Like Never Before
Why Choose Drone Inspections for Roller Coasters?
Roller coasters are thrilling feats of engineering, but ensuring their safety can be challenging and hazardous. Traditional inspection methods often involve risky climbs and difficult to access with certain locations. Our cutting-edge drone technology offers a safer, more efficient alternative.
Advantages of Drone Inspections
How It Works
Certified Testing and Consulting Services
Commitment to Safety and Ouality
Transform Your Inspection Process Today
Contact Us
Book Your Inspection Now!
Certifications
The Credentials of Our Reputable Material Testing Company
Fully Certified Nondestructive Testing (NDT) Company Staffed With:
Certified by the Federal Aviation Administration (FAA) repair station for Nondestructive Testing and inspection services on Aircraft.
